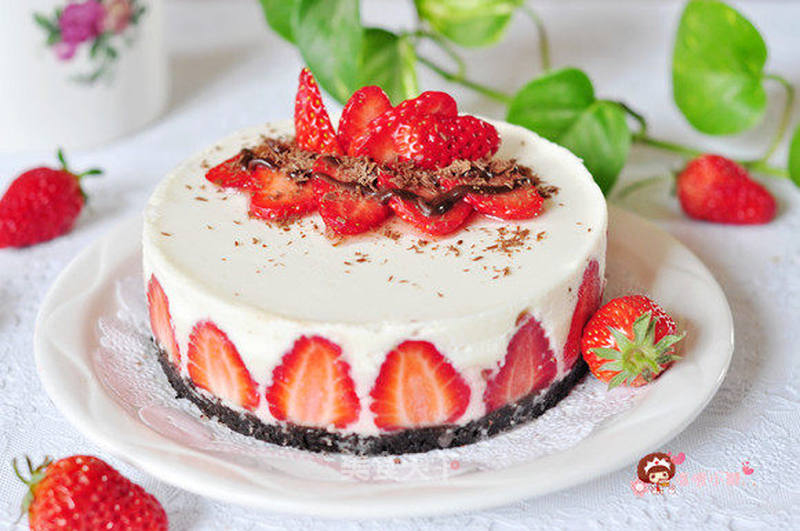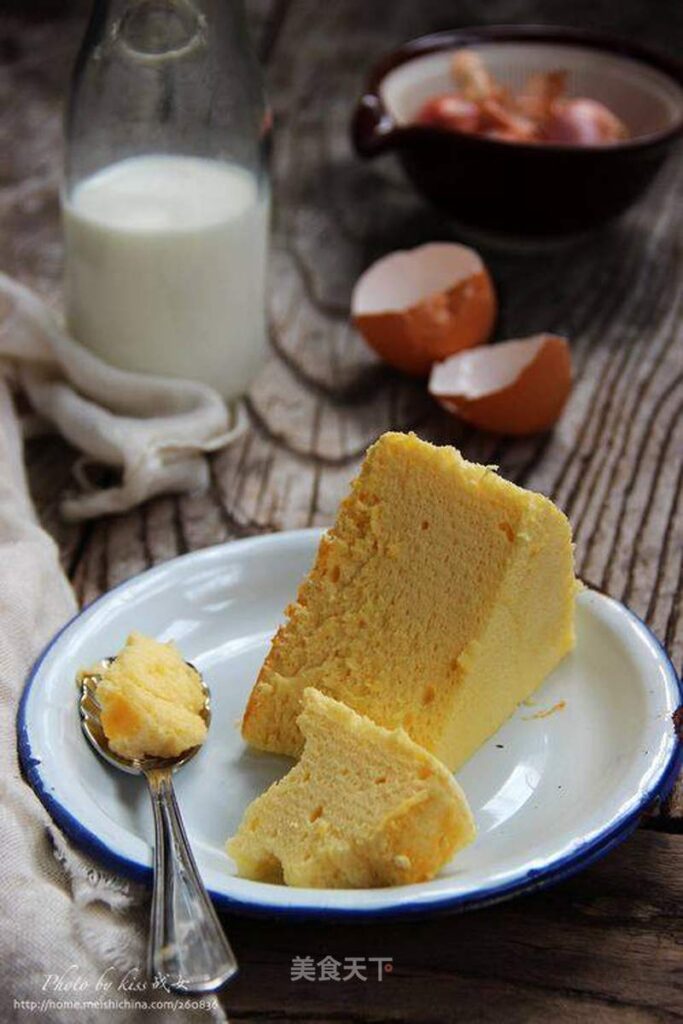
Cocoa Chiffon Cake
1 piece
33. Pour the coconut milk into a small saucepan and heat over low heat. 44. Add the pre-soaked gelatin sheets into the heated coconut milk, stir slowly until fully dissolved, then set aside to cool. 55. Pour whipping cream into a bowl and add fine granulated sugar. 66. Whip with an electric mixer until it reaches 70% stiffness (with visible lines but still pourable). 77. Pour the coconut milk-gelatin mixture into the whipped cream, stir evenly to form a mousse mixture, then transfer to a piping bag. 88. Place two cake rings into the cake mold, pipe the mousse mixture into the gaps. 99. For the second layer, place two cocoa cake rings on top of the mousse mixture, pipe the mousse mixture into the gaps. 1010. Repeat this alternating process for three layers, spread any remaining mousse mixture over the surface, then refrigerate for at least 6 hours. 1111. Sift cocoa powder over the surface.
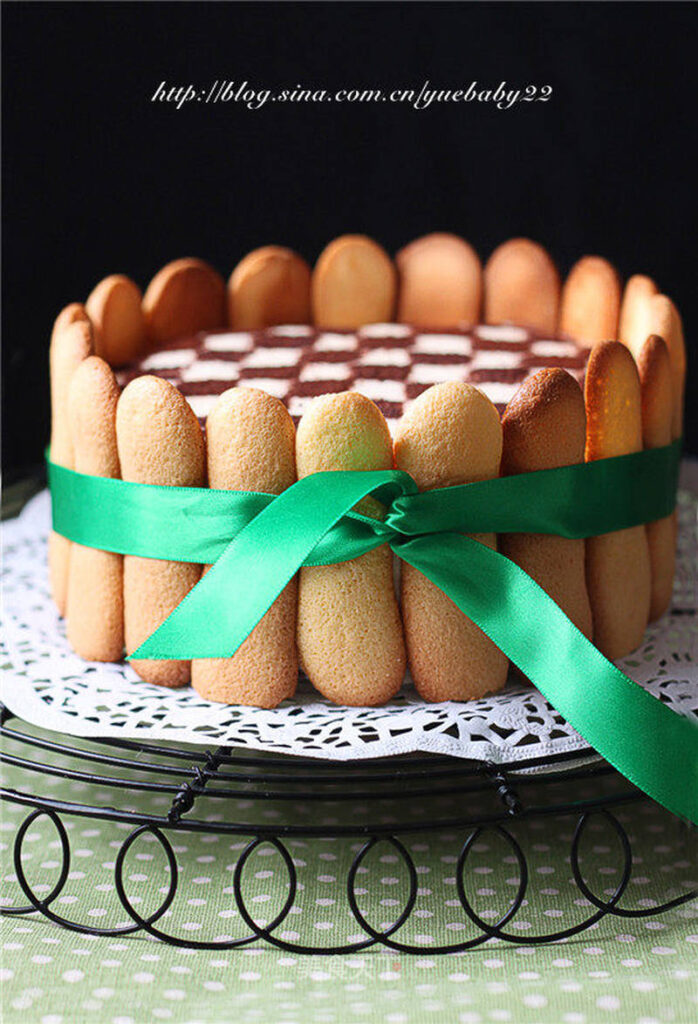
1212. Arrange ladyfingers around the perimeter, then garnish as desired.
Tips for neat assembly
Everything about this cake rewards patience with temperatures. The gelatin must be fully dissolved in the warm coconut milk, but let that mixture cool to roughly room temperature — about 20 to 25 minutes on the counter — before it meets the whipped cream. Pour it in warm and the cream deflates; pour it in half-set and the gelatin forms streaks that never blend. Once the mousse is in the piping bag, work steadily: it sets faster than you expect, and a thickening mousse leaves ragged gaps between the rings instead of flowing into them.
The toothpick-and-knife approach to the concentric rings is worth doing slowly. Score all the circles before separating anything, then lift the rings out one at a time and rebuild them in the mold so the alternating layers line up instead of drifting off-center.
How to get clean slices
- Respect the 6-hour chill minimum. A warm or even cool center smears under the knife no matter how carefully you cut.
- Dip the knife in hot water and wipe it dry before every cut. One pass straight down, no sawing, then a fresh wipe for the next slice.
- Sift the cocoa powder from about 20 cm above the cake so it falls evenly; close-range dusting lands in blotches.
- Arrange the ladyfingers around the perimeter just before serving rather than hours ahead, so they keep a little snap against the soft mousse.
Make-ahead notes
This is an ideal make-ahead cake: assemble it the evening before, and the overnight chill only improves it, giving the mousse time to set firmly and the flavors time to merge. Kept refrigerated it holds well for about 2 days. Avoid the freezer, as a coconut-milk mousse tends to weep and turn grainy when thawed. The chiffon itself can be baked a day early and held tightly wrapped at room temperature, ready for slicing and assembly whenever you are.