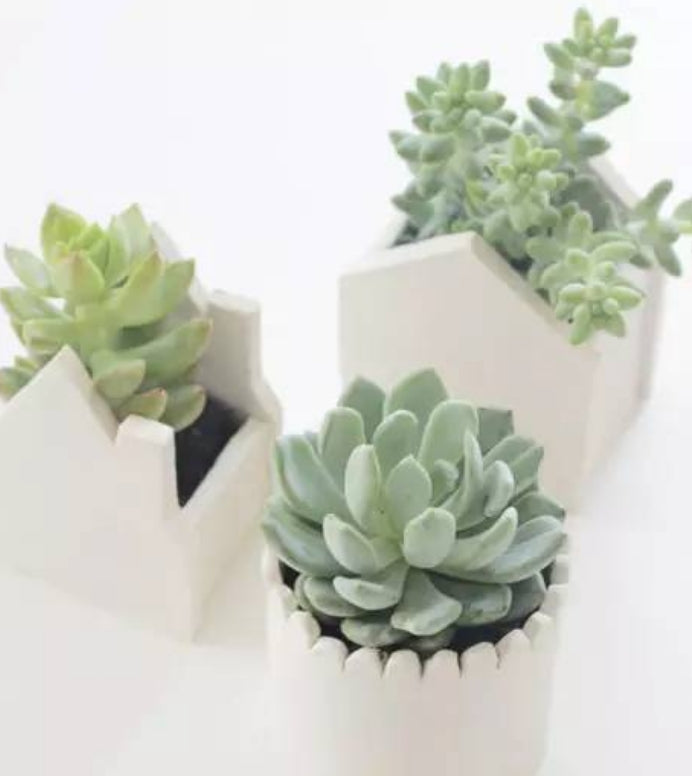
Tutorial on making homemade spider lily pots and clay pots

Join me now to learn how to DIY this set of creative and environmentally friendly flower pots and small clay pots!
You need: 1. Pen knife 2. Bakable clay 3. Rolling pin 4. Non-stick baking paper 5. Ruler 6. Print and cut out the house shape mold. 7. Smooth processing
Tutorial on creative environmentally friendly flower pots and small clay pots:
1. Print on cardboard and cut along the edges. Place each template piece on the clay and use a pen knife to cut out the shape along the edges.
2. After each component is cut, press the components on both sides to the two ends of the base piece. So take another small piece of clay and shape it into a very thin snake shape.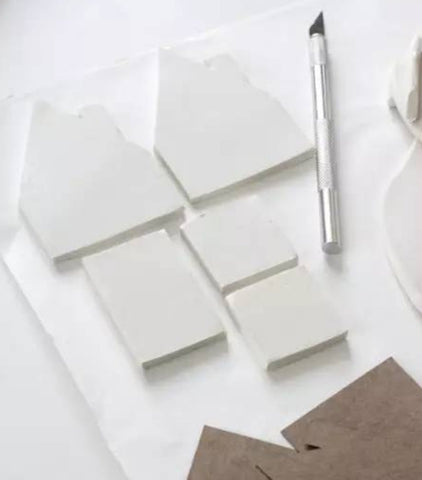
Put the “little snake” inside the interface. Use a smooth processing tool to squeeze part of the “snake” into the gap and push it flat. Then treat both ends of the “snake” in the same way, as well as the other side.
3. After the joints on both sides are sealed, carefully turn the jar over and smooth out the clay at the joint at the bottom of the jar.
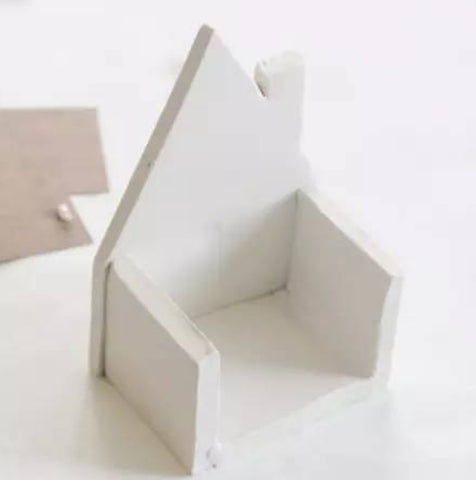
4. Attach the other components to the bottom structure and seal the seams using the same technique as in the above step. When working, support one hand from the other side so that the clay will not be damaged by the pushing action.
5. Once all seams and gaps are sewn, bake the clay according to the directions on the clay packaging. Also keep an eye on the oven to make sure it doesn’t deform.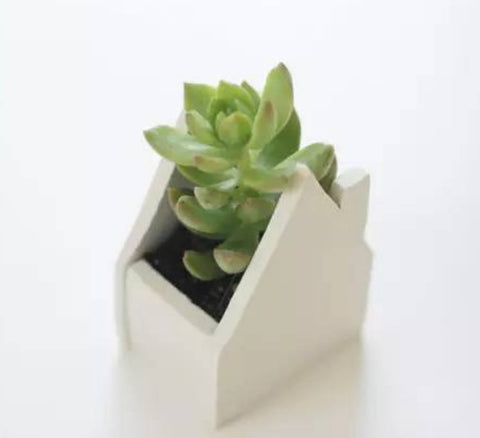
6. After the jar has cooled down, try filling it with water.